Today in my shop, I got to unbox a new toy, the brand new 2012 Panasonic ET50 LED TV.
The one we unboxed to put through its paces was the 42″ model.
Now I have taken a lot of pictures, but I wanted this to not only be an unboxing piece, but also an advisory guide too.
This model is stacked full of features, it’s an IPS LED panel that’s 1080p, the backlight scanning technology boasts an impressive 800Hz.
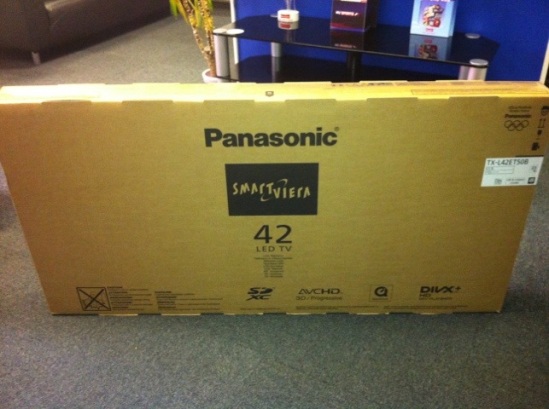
The boxes this year are a lot slimmer than last years, this means that Panasonic holds up its end of the bargain on their Eco pledge, as they are now able to ship more products on planes and cargo ships, meaning they can ship more products, whilst at the same time, maintaining a lower carbon footprint.
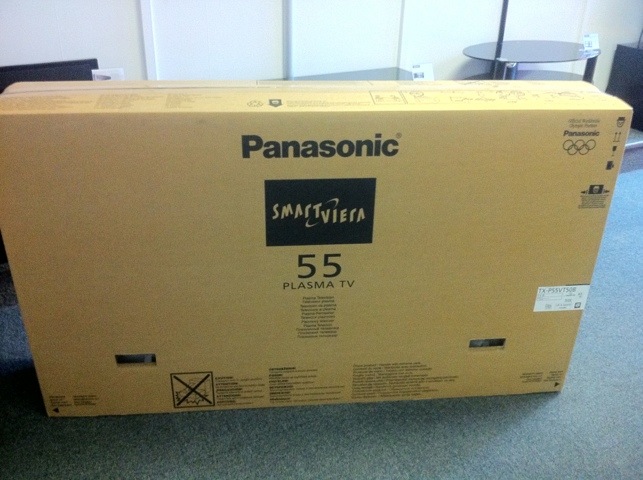
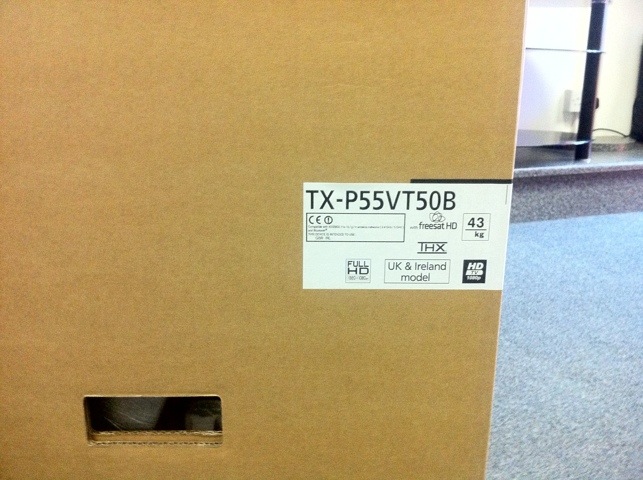
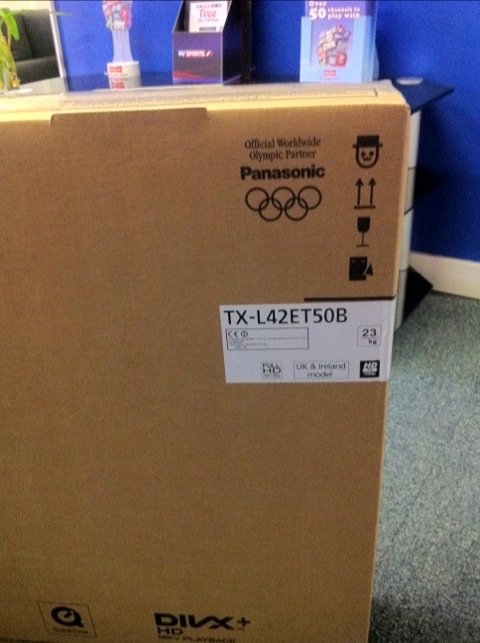
The pictures below show the sealed box as any customer will get, and you’ll also see that Panasonic are making sure everyone knows about their partnership with this years Olympic Games.

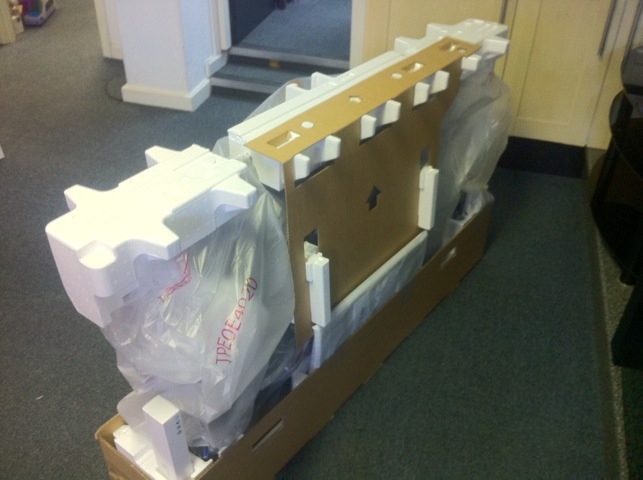
One good thing to see this year is the addition of an extra piece of packaging to make sure the screen stays secure, so before anyone starts complaining about less packaging, remember that less is more.

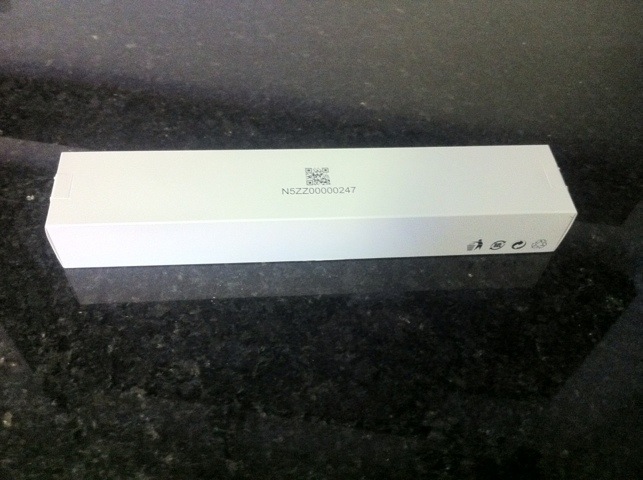
So to start with I unpacked all the accessories and laid them out for everyone to see what you get in the box.

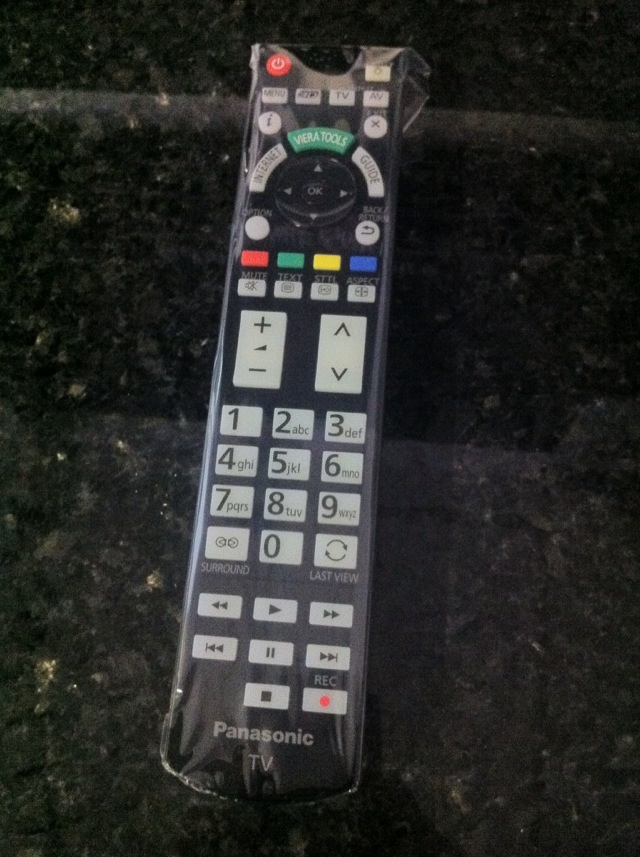
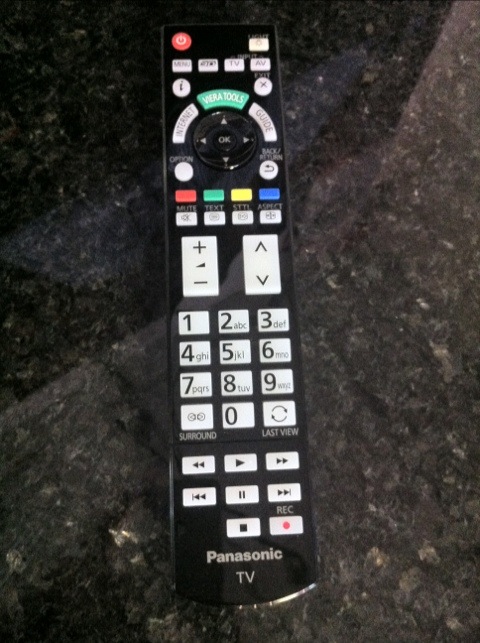
Big thing Panasonic are pushing is the revised remote control, now this isn’t the remote you will get on lower spec models, but from the mid range up, it’s not a bad bit of kit.
The volume and channel +\- buttons have been moved to a more prominent position above the number keys. It also features a backlight to make using the remote even easier, especially when in low lit conditions, as the images below will show.

So once all the accessories are unpacked it’s onto building up the pedestal. Pretty straight forward, simply see the pictures below for this first part.
Just a quick note regarding the pedestal, it’s really nicely crafted and finished. Brushed metal finish, looks super slim and modern. But also has a touch of quality about it.


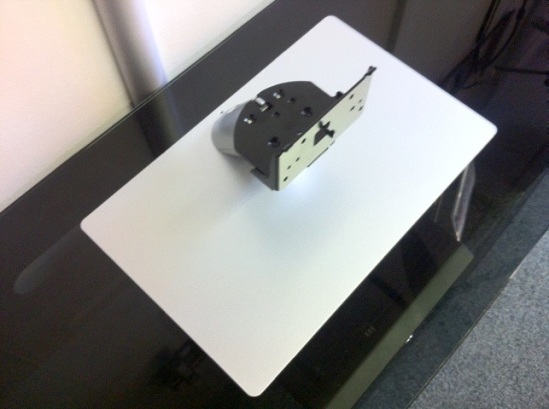
Now for attaching the screen to the pedestal, this is not like any other previous Panasonic TV, normally, you slide the screen over and onto the pedestal, with this model, you have to hang the screen on 3 lips, which are marked by arrows.


Once you have done this,then fit the small cover provided to hide the ugly plate and screws.


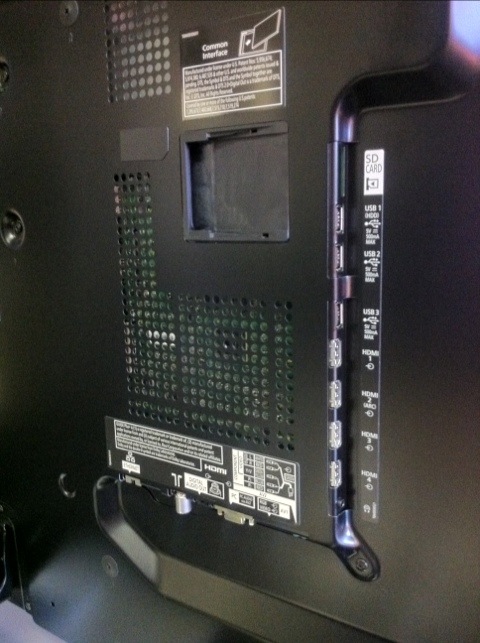
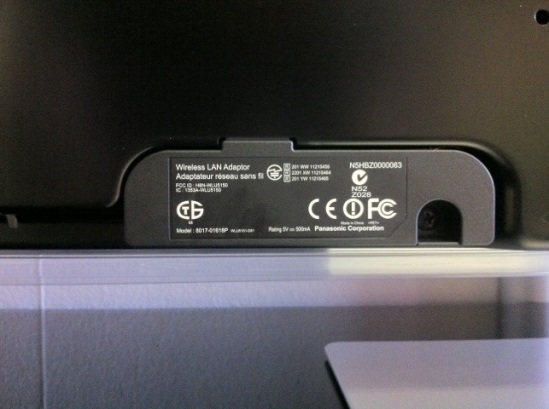
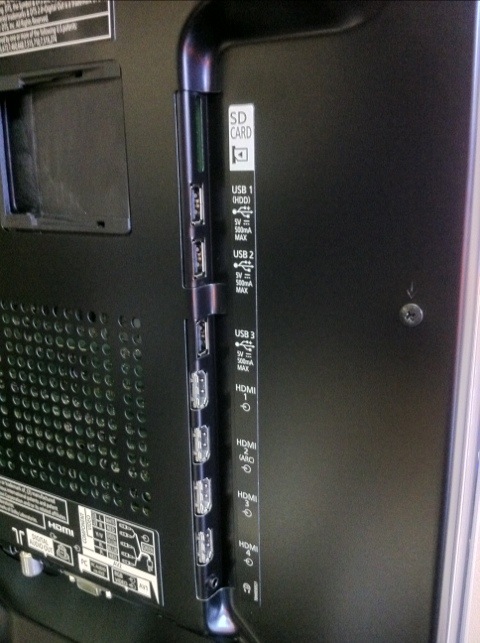
So you’re done, now, just a quick few pictures about connections, firstly, the wireless LAN module is attached to the bottom of the chassis on the opposite side to the connections. See below for relevant pictures of all connections.


Last 2 pieces of info for you, one is that you don’t have a fixed mains cable, and all you need to do is use what is known by many as a “Figure 8” mains cable.
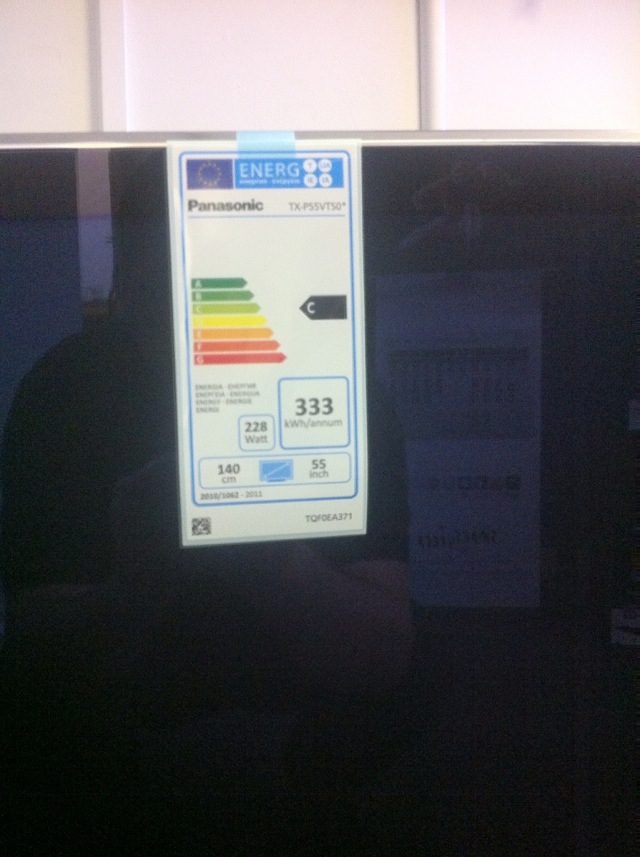
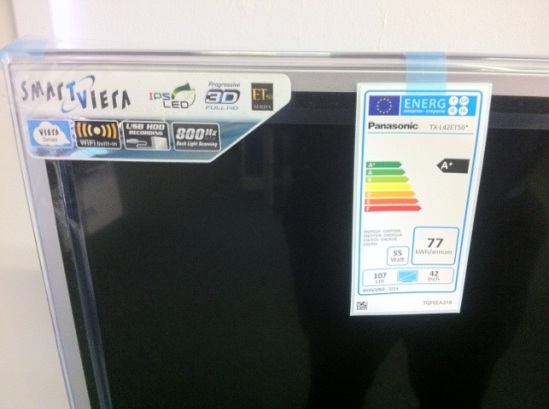
And the TVs now come with an energy efficiency label which is a new EU Directive that says that pretty much all electrical products need to have a rating shown on a sticker. This TV has an A+ rating, so it’s super energy efficient.
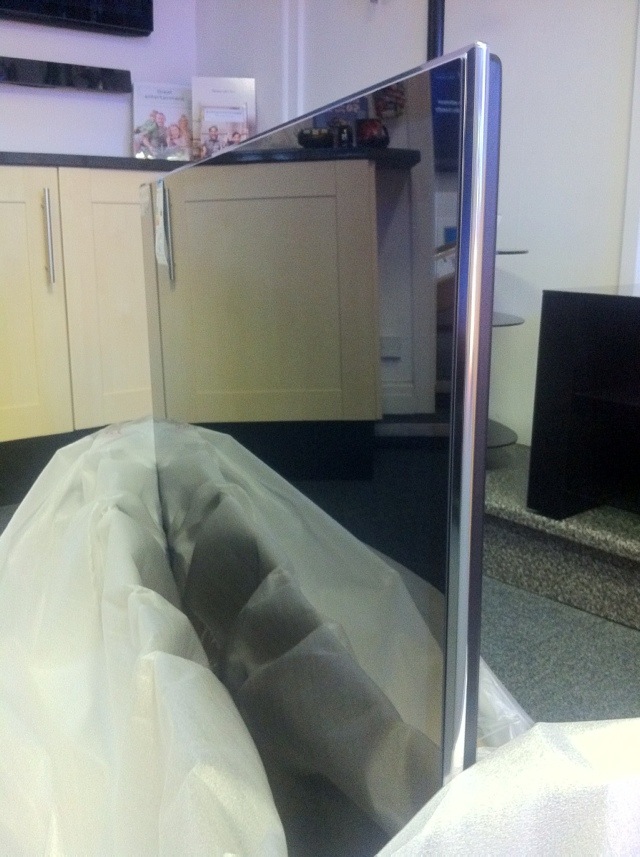
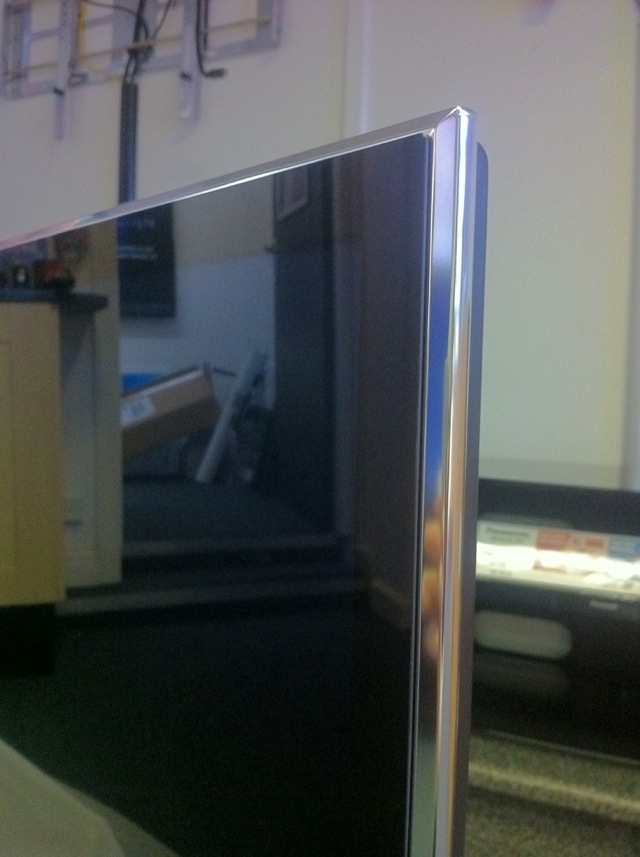
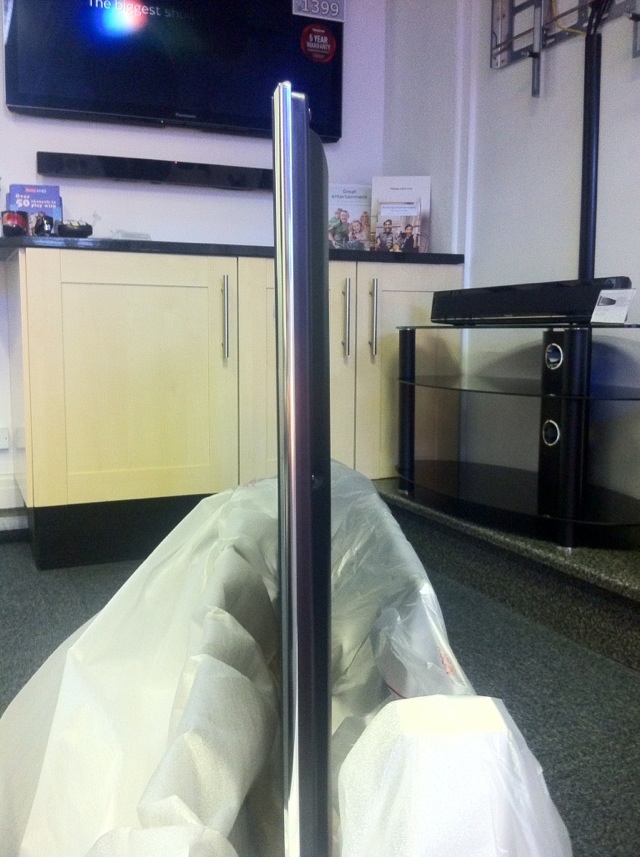
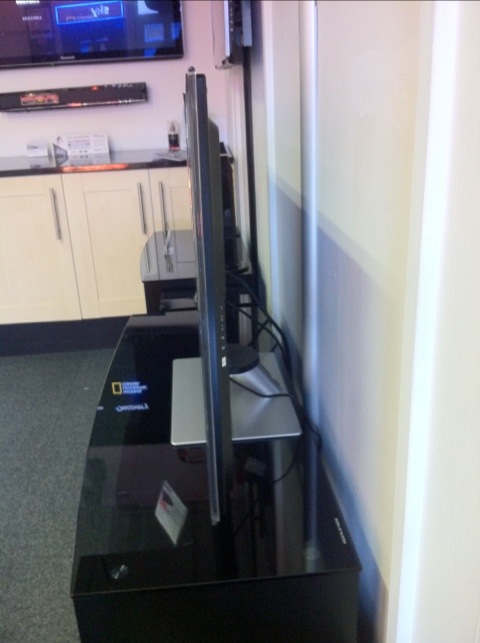
Last of the 2 bits of info is that this TV is wafer thin, took the next picture once I had set it up. Very thin indeed.
So that’s our unboxing done, my review will follow very shortly, so watch this space!